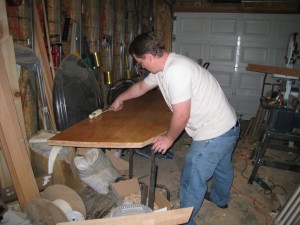
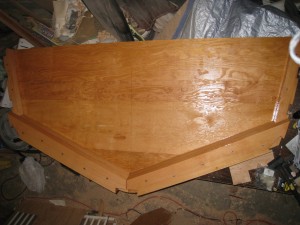
After quite a bit of work, I finally got all the pieces ready to assemble the transom. Here I am putting a coat of epoxy resin on.

I then thickened the epoxy to more of a glue consistency and put a layer of epoxy between each frame. I put in bronze screws as a fail safe and now the transom is complete. Well, complete enough to mount it on the building form.

The notches are for the keel, chine, and shear. If you want to know what those are go here

ammon you are so cool! i dont even know what any of that means but i just know it will be a SWEET boat!!
It is amazing that you are going forward with the boat with everything that has been going at at your house. It looks great!
The wood looks beautiful! It is going to be a sweet boat.
re: the wood looks beautiful.
After seeing it and how good it looks I am tempted to finish it bright(marine varnish instead of paint), but paint protects better and lasts longer.
What color are you going? Or have you decided on that yet? I agree with you and Driel that the wood looks great. You are right; however, that with it being in the water the most protection is best.
re: color
Have not decided.