Keel is Laid

After much work, the keel is finally in place.  4 layers of 1/2″ x 6″ Douglas-Fir from the back to the front and increasing to 8 layers(but tapering to only 4 inches wide) at the very front.

You can’t really buy 1/2×6 boards, So I got 2×6 stock and ripped them on edge to make 1/2″ x 6″.  I was able to get three such boards from one 2×6, one of which was usually closer to 9/16 to 5/8.  The larger boards were too much for me to handle with just a hand plane, so a special thanks to my neighbor Enoch, who let me use his thickness planer.

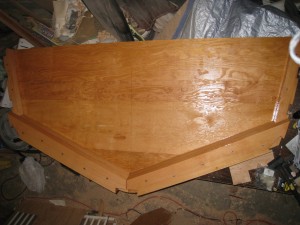
Here it is completed.

And now for the chines(goes the length of the boat between the bottom and the sides).

Keel/Stem Part 1

The first part of the keel is up and shaping up nicely.  This would technically be called the stem since it is the forward upward part the keel.

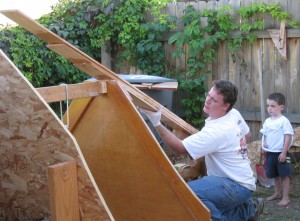
With the help of Kathy, this part went well.  I tried doing a little too much, 4 layers at one time and ended up needing some help.  In the end it turned out pretty good.

Form and Frames

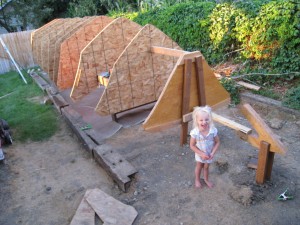
After some digging, lots of getting things lined up, and some heavy lifting, the form and frames are complete and in position.

10 points to anyone who can guess how much that transom weighs. I measured it on a scale prior to lifting it up onto the form at the back.

Next thing to do, lay down the keel.

Rope Locker Bulkhead

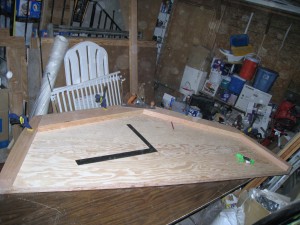
The rope locker bulkhead is framed up.

The other side of the bulkhead has framing along the sides. The other side is the side that will show, and it looks even better(no footballs).

You can also see the stemhead knee on the right. It’s the forward most structural member.

Now on to the building form they go. I also need to respace all my frames since I am going to build it 30ft instead of 33ft. Over 31 feet would put it in a property tax bracket I don’t want it to be in.

Transom Part 2

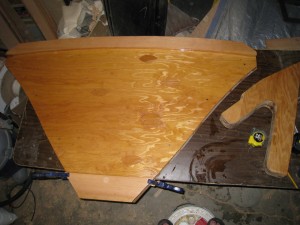
After quite a bit of work, I finally got all the pieces ready to assemble the transom. Here I am putting a coat of epoxy resin on.

I then thickened the epoxy to more of a glue consistency and put a layer of epoxy between each frame. I put in bronze screws as a fail safe and now the transom is complete. Well, complete enough to mount it on the building form.

The notches are for the keel, chine, and shear. If you want to know what those are go here

Transom Framing Part 1

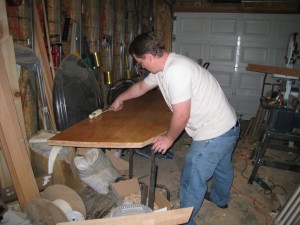
The weather made going to the lake out of the question, but it was a good weekend for boat building.  After figuring out you don’t need a power planer, I did quite a bit of work with the jack plane pictured.

The transom is framed with solid stock.  You see here 2×3 on the sides and 2×6 on the bottom.

The top still needs to be framed with a 1×3 and the bottom needs an additional layer of 2×6.